2026-09-07 05:42:50
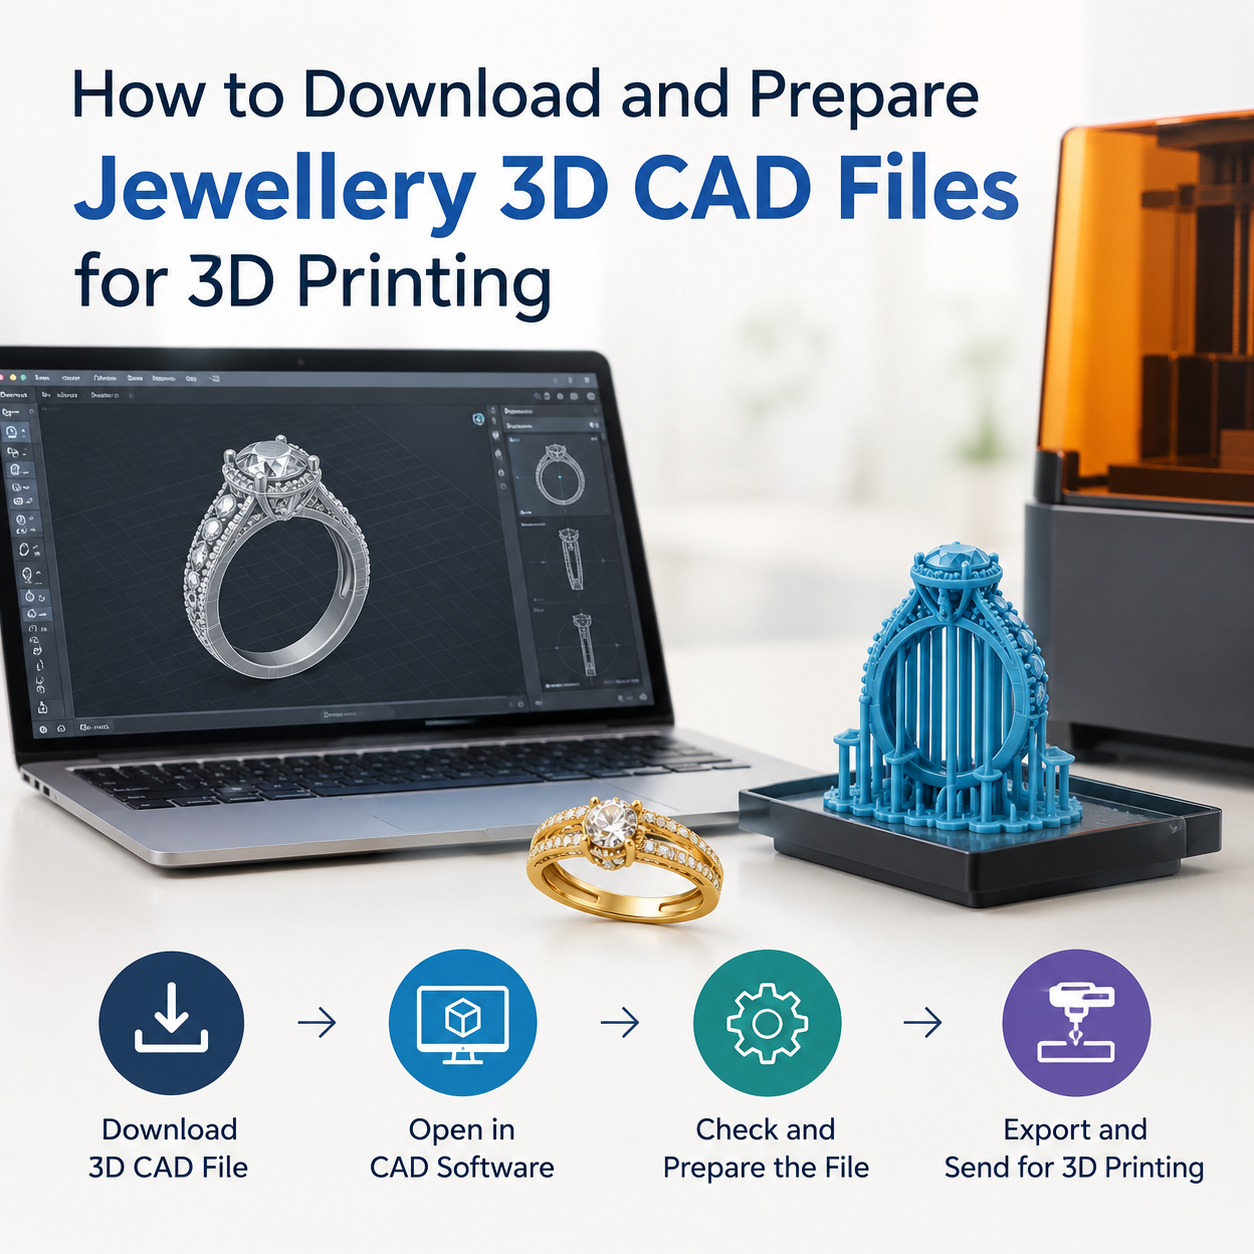
How to Download and Prepare Jewellery 3D CAD Files for 3D Printing
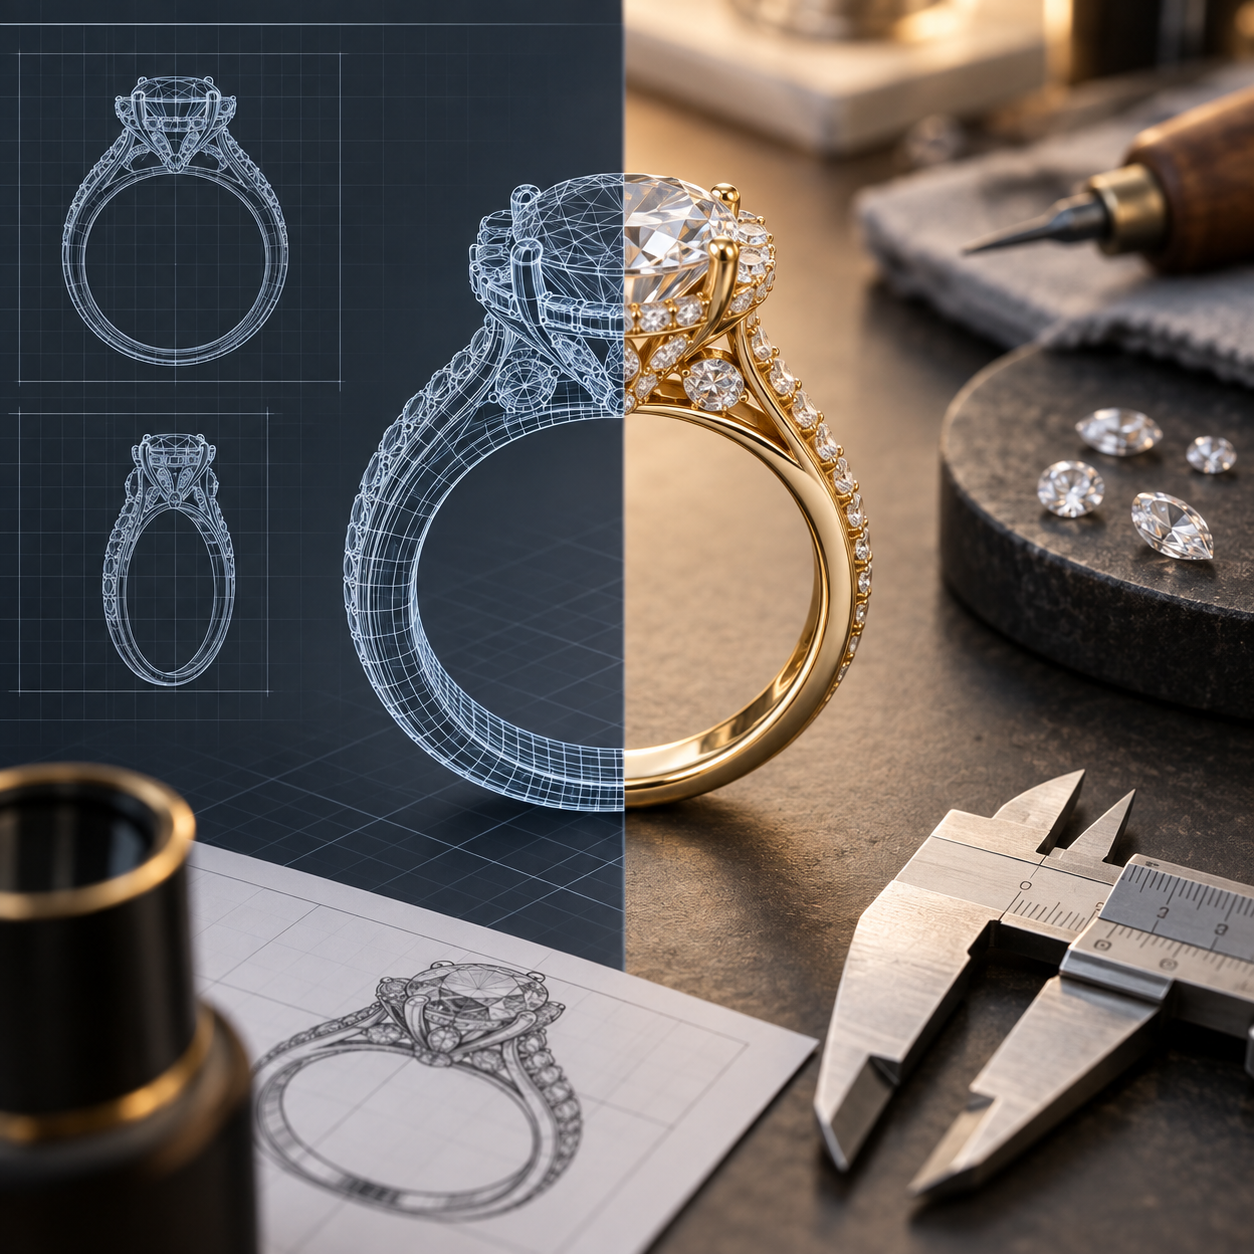
3D jewellery CAD designs have revolutionized the process of translating creative ideas into precise pieces of jewelry by allowing designers to rely on 3D CAD designs to create highly realistic rings, pendants, earrings, bracelets, and other items using 3D printing and casting technology. Nevertheless, downloading a model is not the only thing one should do. It is necessary to prepare the file in the right manner to make sure that the printer will understand each curve, edge, stone setting, and dimension of the object. One may take advantage of professional jewellery CAD designs by CadWala to get access to digital models and facilitate the process of translation.
Using a good digital workflow makes it possible to eliminate modeling errors, avoid failed prints, and save time spent on production. No matter whether it comes to an existing model that has been downloaded, a custom model, or a reusable jewellery item, it is important to know what to do before printing. Selecting the proper format, checking the geometry, repairing meshes, and exporting a printer-ready file are all parts of the process that influence the quality of the final product.
Understanding Jewellery CAD Files
Jewellery CAD file is the digital file of a piece of jewellery which has been created by using CAD software. These files comprise all geometries used to reproduce the design including the dimensions, curves, surfaces, stone setting, prongs, engravings, and others. The most popular file formats include STL, OBJ, 3DM, STEP and CAD software specific. STL file format is especially popular for 3D printing, since it allows creating a mesh that then can be sliced into layers for printing. Other formats might be more preferable if the further modification of the design is expected.
The format of the file will depend on the design software, printer and manufacturing process used. In case, if the downloaded model should be printed without further modifications, STL and other compatible mesh file formats can be used. In case if the modifications of the model are planned, then a native CAD file format might be more appropriate. CadWala provides jewellery CAD products specially tailored for jewellery specialists and companies who need a digital design. Always check the format, scale, dimensions, compatibility and licensing of the file before downloading.
Step 1: Choose and Download the Right CAD File
Firstly, choose a suitable CAD 3D model of jewellery based on your intended use. This includes considering what kind of jewellery you want, its size, how the stones will be set up, the level of detailing involved, and whether the design needs some alteration. A great model that looks good on screen might need to undergo changes before manufacturing can begin. Take special care of details like thin bands, delicate prongs, sharp corners, small holes, and detailed patterns since these will act differently in the manufacturing process.
When you have the proper design picked out, download the file and keep a master copy of it for yourself. Never replace the file with the changed one immediately; having a clean copy will serve as an insurance if any changes you make cause a problem down the road. When looking for jewellery CAD software, you might consider using CadWala as a source for it.
Step 2: Check the File Format and Scale
Having downloaded the model, open the file in appropriate CAD or mesh editing software and make sure that the file imports without any issues. One of the most crucial things you need to check is the scale, because even though a model may look right, it still may be wrong in terms of physical dimensions. This is especially true for jewelry as the industry relies heavily on exact dimensions; otherwise, the rings will not fit and the stones will be placed incorrectly.
Find out the measuring units used in the original file and compare them with the units required by your printing software. For example, a model that was designed in millimeters might get misread as inches or any other units. Before starting any work, measure the necessary dimensions like the ring diameter, band width, pendant height, or stone seating dimensions.
Step 3: Inspect the Jewellery Model
Before uploading the model into the slicer, it is recommended to conduct a thorough examination of jewellery models prior to printing. The idea is to reveal possible geometry issues that can obstruct the slicing procedure or generate poor-quality fragments of the model. The model needs to be rotated at several angles and thoroughly examined from both sides. This includes identifying holes, overlapping faces, broken edges, unconnected parts, and very thin layers.
Functional parts of jewellery models should also be considered carefully. Proper thickness of ring shanks, sturdy prongs for chosen production techniques, as well as sufficient depth of engravings and other small details should be checked. It is much easier to resolve possible issues in the process of examination prior to the slicing.
Step 4: Repair and Prepare the Geometry
After inspecting the file, make sure that any faulty geometry is repaired. There are many mesh-repair tools that can detect and fix the most common problems such as open edges, inversed normals, duplicated faces, holes and so on. The final goal is to create a solid enclosed shape which can be sliced by the slicing software properly. Additionally, there may be a need to reduce too dense geometry without deleting jewellery elements in it.
When you are preparing your jewellery CAD model for 3D printing, keep in mind the limitations of your printer and materials. A good design for resin printing will have to take into account something else when used in wax printing or casting patterns. Wall thickness, supports, orientation, drainage, shrinkage and surface details can make the difference. It is better to prepare the model thinking about the whole production process rather than just 3D printing.
Key Checks Before Printing
The following checks can help create a smoother jewellery CAD file workflow for printing:
- Dimensions and scale: Confirm the jewellery matches the required physical measurements and ring size.
- Closed geometry: Ensure the model forms a watertight, printable volume without open surfaces or unwanted gaps.
- Wall thickness: Check delicate areas to reduce the risk of breakage during printing, casting, or finishing.
- Stone settings: Verify prongs, seats, bezels, and channels are correctly positioned and sufficiently robust.
- Surface quality: Inspect curves and fine details for unwanted artifacts or geometry distortions.
- Model orientation: Choose an orientation that balances surface quality, support requirements, and print stability.
These checks are especially important for intricate jewellery because small digital errors can become visible defects in the physical piece. A short inspection before slicing can therefore save material, production time, and finishing effort.
Step 5: Convert the File for 3D Printing
Following the repair and validation of the geometry, the following step would be to convert the jewellery CAD files to prepare them for 3D printing in a format which is compatible with your slicer. One of the most common formats is STL, but some processes use OBJ files or any other mesh formats as well. During the process of exporting, one must take into consideration the resolution.
Export settings must be appropriate for the jewellery model and printer. The curved surface and detailed jewellery design require a mesh with the sufficient resolution as the curved shapes and detailed designs should be properly displayed. But higher resolutions do not always mean a better result.
Step 6: Use Slicing Software
Once the printable mesh has been exported, import it into the appropriate slicing software. The The slicer turns the three-dimensional model into separate layers which can be printed. In this process, you can choose such things as print resolution, print orientation, supports, exposure or print parameters, and many other machine-specific options.
Jewelry is usually difficult to orient correctly, as it may happen that incorrect orientation will result in many supports being needed or in low-quality surfaces of visible parts. Try to make sure that important aesthetic surfaces are available, and the model is also stable during the entire print process. It’s especially important when printing jewelry using resin.
Step 7: Review the Sliced Model Before Printing
Do not transfer the file to the printer after slicing. Check the layer preview to ensure that the whole model prints properly. Look at the first layers, supports, thin parts, stone mounts, and any other detailed features. In case the slicing program highlights any missing parts or unconnected geometry, go back to the CAD or meshing program and fix the issue.
A final virtual inspection may help you avoid many unnecessary printing problems. This is also the point at which you can calculate how much material is needed and how long the printing process will take and make changes if necessary, since the cost of production or the timing is not right. The review is particularly useful in mass production of jewellery items, as it may help you avoid repeating the same mistake in several items.
Why Quality CAD Files Matter
The quality of a jewellery CAD file is an important factor that determines how effective and consistent the digital jewellery manufacturing will be. A good quality model would ensure easy scaling, editing, support, slicing, printing, casting and finishing of the final jewellery. Any problems such as bad geometry, wrong dimensions, lack of surfaces in the models might cause difficulties in some stages of the manufacturing process and would have to be manually corrected.
Thus, use of good quality 3D jewelry CAD models can ensure that the designer will have more time available for perfecting other details than spending this time on solving some modeling problems. CadWala offers jewellery CAD solutions that will help professionals seeking detailed digital jewellery designs.
Common Mistakes to Avoid
A few errors could spoil even a well thought out jewelry design. These include importing the file without reviewing the dimensions, thinking that all STL files will be automatically printable, overlooking the importance of the thin parts, and omitting mesh validation. Another error is failing to choose print orientation depending on the visible surfaces and support marks.
It is crucial not to confuse slicing with CAD verification. The slicing software could help identify the problem but the geometry problems can usually be solved easier using a CAD or mesh repair software. Keeping a systematic process including the original file, the fixed master file, exported mesh, and finally the sliced file could make troubleshooting simpler.
How CadWala Can Support Jewellery Design Workflows
CADWALA offers a range of jewellery CAD solutions to designers and professionals that require 3D models of jewellery designs for design, visualization, modifications, and production. The use of pre-made designs can save designers time in making some jewellery designs because there may be a good fit between the existing model and the creative demands.
The use of this design is dependent on their suitability to the desired production process. Even with CAD solutions, the designer must check the geometry, compatibility, dimensions, and manufacturing requirements before printing. Using an appropriate digital model and proper preparation procedure ensures consistency in the jewelry manufacturing process.
Final Thoughts
Creating a CAD file for 3D printing is far more complicated than simply downloading a design and clicking print. It requires choosing the right file, ensuring the correct format and scale, checking the geometry of the file, fixing possible mistakes, adapting the file for the specific printer to be used, exporting the mesh that will be suitable for the particular model, adjusting slicer settings, and checking the layers.
Proper workflow allows one to make the creation of digital jewellery more efficient and reproducible. No matter whether you are an independent jewellery designer, manufacturer, or any kind of company that works with digital jewellery, using high-quality jewellery CAD models and thoroughly verifying them before production will definitely increase your efficiency and decrease mistakes. With properly prepared products by CadWala and the correct preparation process, you can be sure that creating printable jewellery will be easy for you.